
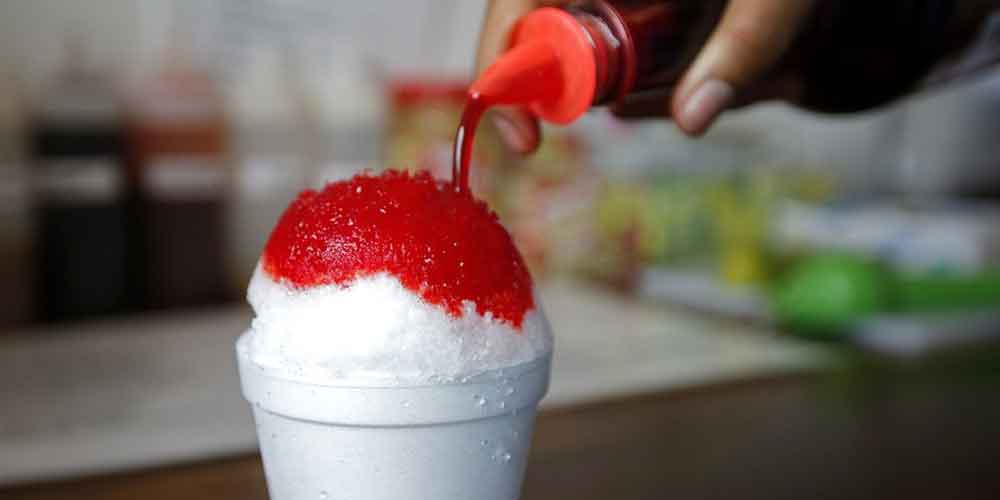
How to Make Shaved Ice Without a Machine?
The Summer is approaching, and a load of hot days are in the offing. But that doesn’t stop our work one bit as we have to make our way to the office and back home in the blistering blazing sun all day. No matter the number of minutes you shower for, the heat outside is enough to get you soaking wet with sweat in just a few minutes. After a hot day in the field, all you wish for is a lovely shaved ice dessert, and you’re all set.
However, it is that time when you realize that you don’t have an ice shaving machine home. Yes, ice cubes and ice balls are great, but you will have to wait for quite some time before you can consume them. But with shaved ice, you needn’t wait one minute. Meanwhile, you can even add a touch of flavored syrups to your ice shaved for further enjoyment.
There are ways using which you can shave ice without a machine. Therefore, this article will walk you through on how to make shaved at home without a machine.
Methods to Make Shaved Ice without a Machine
As complicated as it sounds, making shaved ice is probably one of the most accessible activities you might have ever done. If you are looking at making shaved ice at home without a machine, there are plenty of methods to implement here. Here are some of the methods to make shaved ice without a machine from the comfort of your home.
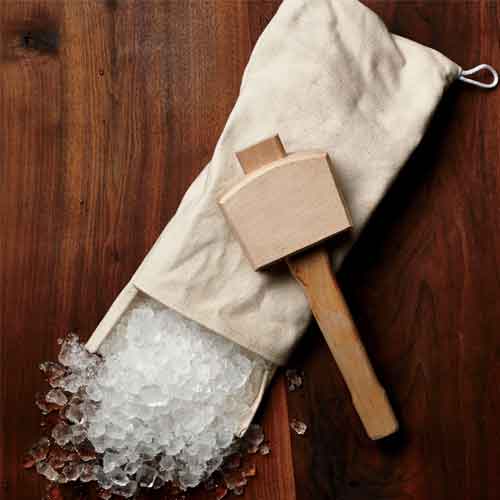
1. Using A Rolling Pin Or A Mallet
This is what the experts refer to as the pound and crush technique. As the name suggests, you will need to crush the ice to create a refreshing ice dessert. To do so, all you need is a water-tight ziploc bag, a mallet, and some water (flavored water works too)
- Fill ¼th of the ziploc bag with water or flavored water as you please
- Seal the bag tightly and place it in the freezer.
- Ensure that the bag is lying on its surface when in the freezer
- Remove the ice bag once the ice is ready
- Using either a rolling pin or a mallet, crush the ice.
- Pound the ice continuously until you get the desired texture, shape, and consistency.
- Mould the ice in a bowl and and season it with any of your favorite syrup or other toppings
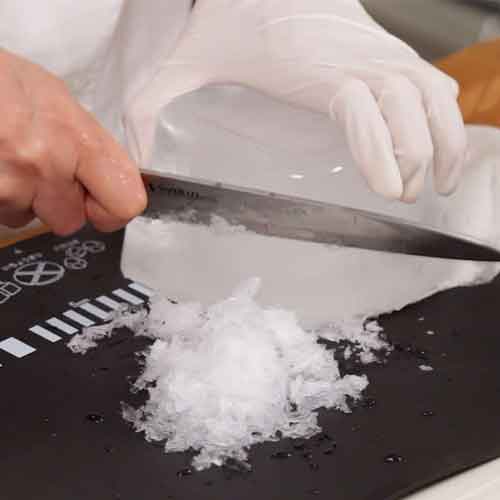
2. Using A Sharp Knife
Just like vegetables, your average kitchen knife can also help you get shaved ice. To do so, you need a sharp knife, a square ice mould, clean cloth, protective gloves, and water.
- Fill the square ice mould with water and place it in the freezer
- Once it is ready, remove the mould from the freezer
- Let the ice thaw for 5-10 minutes
- Wear your gloves
- Sharpen the knife blade if needed
- Place the thawed ice on the clean cloth
- Now, using the knife, thoroughly slice the ice in quick, repetitive motions.
- Once done, place the shaved ice in a bowl and season it with any of your favorite syrup or other toppings.
3. Using A Fork
If knives and mallets aren’t your strong suit, a simple fork can do the trick for you. Just ensure you have a fork with sharp teeth to ensure maximum efficiency.
- Fill the square ice mould with water and place it in the freezer
- Once it is ready, remove the mould from the freezer
- Let the ice thaw for 5-10 minutes
- Wear your gloves
- Place the thawed ice on the clean cloth
- Using the fork, thoroughly scrape the ice in quick, repetitive motions.
- Once done, place the shaved ice in a bowl and season it with any of your favourite syrup or other toppings.
NOTE: This is a highly time-consuming process as you will need to perform multiple repetitive motions to break down the ice. A whole lot of ice can melt during this process.
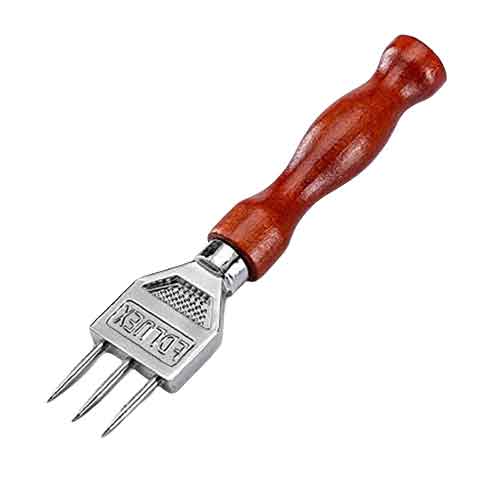
4. Using An Ice Pick Or An Ice Chipper
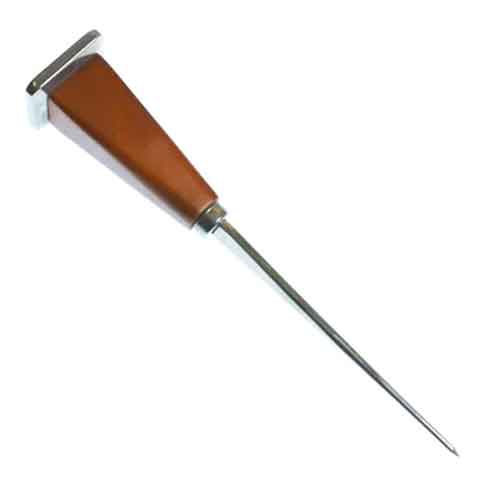
Note that you will need to pound the ice with the mallet once you have implemented this step. Here, all you need is an ice pick, large ice mould, clean cloth, gloves, and water.
- Fill the large ice mould with water and place it in the freezer
- Remove the block of ice and put it on the clean cloth
- Using the ice pick, chip the ice block into small pieces.
- Keep a bowl nearby to collect all the small pieces
- Place all the ice pieces into a ziplock bag
- Pound the ziplock bag with a rolling pin or a mallet until you get the desired shape, texture, and consistency
- Once done, place the shaved ice in a bowl and season it with any of your favourite syrup or other toppings.
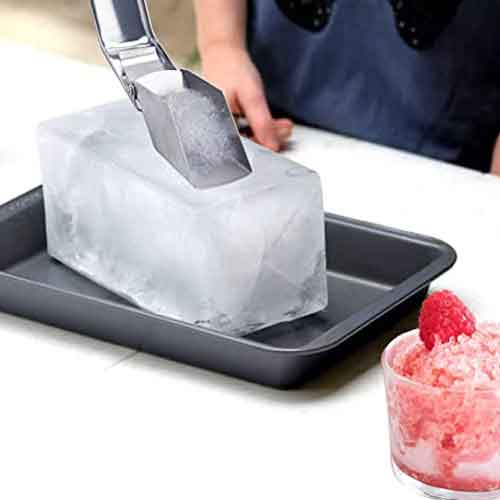
5. Shaving The Ice Manually With An Ice Shaver
If all else fails, you can always trust your hands to do the job. Although manual ice shavers aren’t too often seen in the market, they are the perfect piece of equipment if you are looking to the top of your dessert with some freshly shaved ice. If you don’t have one at home, you can get it on Amazon at a meagre price. All you need is a manual ice shaver, large ice mould, clean cloth, gloves, and water for this process.
- Fill the large ice mould with water and place it in the freezer
- Remove the block of ice and put it on the clean cloth
- Let the ice thaw for ten straight minutes
- Secure the ice in a tight container
- Place the ice under a clean cloth
- Wear your gloves
- Position the ice shaver at the top of the ice block
- Scrap ice in quick and consistent repetitive motions
- Keep on scraping till the glaze is fully shaven
- Once done, place the shaved ice in a bowl and season it with any of your favorite syrup or other toppings.
Frequently Asked Questions
The Bottom Line
With all these easy methods at hand, you needn’t worry about how to make shaved ice nor about how to make shaved ice without a machine. Implementing either of these methods will help you get a nice big bowl of shaved ice which you can top off with your favorite syrups or any other toppings.