
How to Make Block Ice for Coolers?
We are all familiar with the process of making ice. Up until now, we have been filling our ice trays with water at night so that we’d all have fresh ice for our juice in the morning. Similarly, we are all quite aware of the different cycles the water goes through when becoming ice. The basics to making ice are pretty simple. Given that ice is nothing but frozen water, we have all been filling containers (not essentially only ice trays) with water and storing them in a freezer to let the laws of thermodynamics take care of the rest.
But have you ever had the chance of make ice blocks? As complicated as it sounds, making ice blocks really puts your efficiency and patience to the test. Therefore, this article will walk you through the process of how to make block ice and will also lay down some of the best containers to make block ice.
What Is Block Ice And Why Is It Preferred For Coolers?
Block ice is nothing but a large block of ice that tends to last longer and melt slower as compared to regular ice cubes.
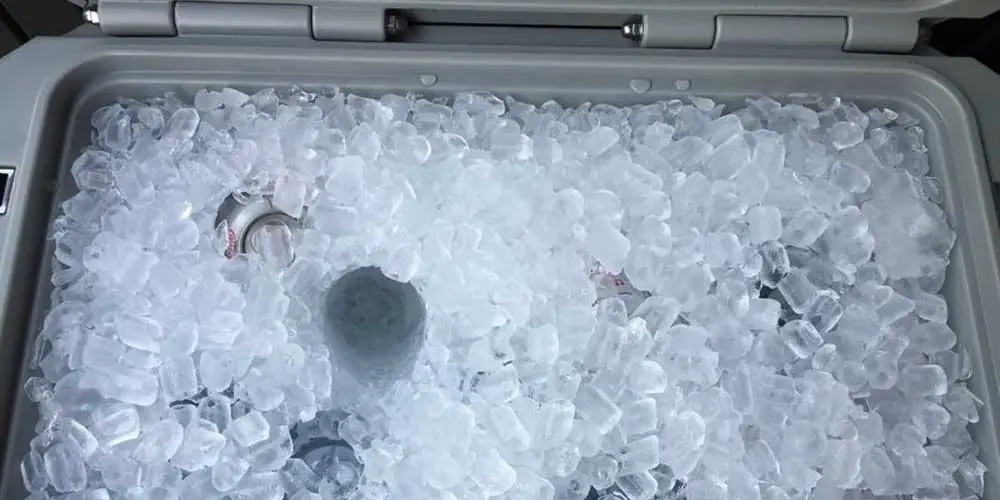
If you ever go camping and have a camping cooler at hand, then putting in a few blocks of ice can ensure you have cold things throughout the rest of your camping trip. Ice coolers generally tend to hold crushed ice. However, crushed ice is full of space and air which makes it prone to melting quickly.
Crunchy chewable ice has its own place but probably not when we’re discussing coolers. Once the shaved ice melts, it will leave you with nothing but a box full of water. Crunchy ice makers can’t make large blocks of ice that you’d be needing for a cooler.
Unlike shaved ice, an ice cooler is perhaps one of the best containers to make block ice and even hold ice. This is because block ice is a solid mass of ice that won’t melt quickly and will also last longer than shaved ice or ice cubes. This however does not imply that we disregard the credibility of shaved ice. Both have their time and utility. Commercial shaved ice machines retain their vogue for this very reason. If you are planning to store food or drinks in your cooler, you can surround it was ice blocks to chill the contents and ensure maximum ice retention.
Can You Make Block Ice for Coolers at Home?
Yes, it is possible to make block ice for coolers at home. Although, doing so will need you to have a few containers to get the job done. Knowing how to make block ice at home comes in handy especially before a camping trip.
This is because block ice is a great option for food storage and keeping your drinks cold for a long duration.
If you have any perishable food in your freezer or cooler, surrounding it with block ice will help delay the perishing process as much as possible. But rest assured, it is possible to make block ice for coolers at home.
Best Containers To Make Block Ice for Coolers at Home
As we mentioned above, it is quite possible for you to make block ice for coolers at home. All you need are a few containers at hand to get the job done. If you got too much perishable food in the freezer, then making ice blocks at home is one skill you should excel at. To help you in making ice blocks at home, here are some of the best containers to make ice blocks for coolers at home.
1. Baking Pan
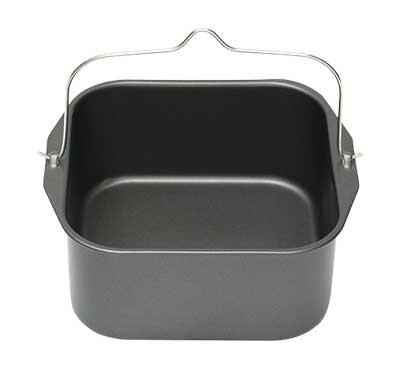
A block of ice has a small surface area to volume ratio. This means the larger the block of ice, the faster it will take to melt. If you are aware, people tend to use ice trays made out of stainless steel or metal to help freeze ice faster.
Using the same principle, you can use a baking pan made out of stainless steel or metal to make large blocks of ice. Generally using big pans used to make biryani or lasagna are perfect for making ice blocks at home.
2. Round/Angular Plastic Tub
A round plastic tab is yet another container that gives you a small surface area to volume ratio for making ice blocks at home. Such round plastic tubs are generally used to carry clothes for laundry or for storing kids’ toys or any other stuff lying around in the house.
When it comes to a round plastic tub, they are extremely cheap and can help you produce large blocks of ice. Also, they are flexible enough to stay intact even if the ice expands.
3. Silicone Molds
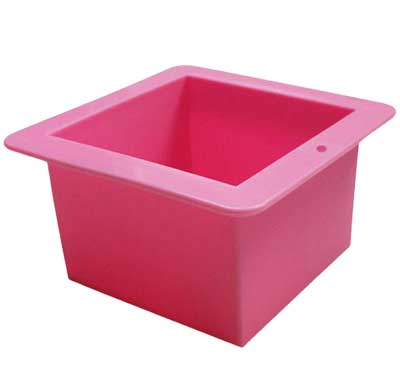
If you are looking for an easy way to make ice blocks at home, then a silicone mold is perhaps one of the best containers to make block ice. Silicone is great for holding shape and provides enough surface to volume ratio.
Plus, these molds are flexible so as to not break even if the blocks expand. Plus, these molds offer enough space for the blocks to slide out easily once done. You can opt for a silicone bucket if you want larger ice molds.
4. Plastic Bottles
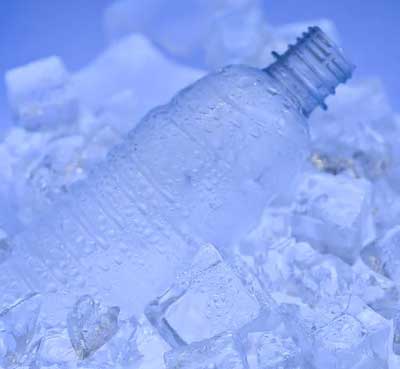
The first thing to understand when making ice blocks at home is that you need to take your freezer’s size into consideration. This is because your freezer is the primary constraint to making ice blocks at home. If you are going to be making ice blocks at home, then the size matters.
So, you will need to find a container that will help make a block of ice without occupying too much space in your freezer. In such cases, using a plastic bottle can be the perfect solution. You may either choose to cut open use-and-throw water bottles and use the ice in your cooler or simply use the water bottle as one large ice block altogether.
5. Large Plastic Bins
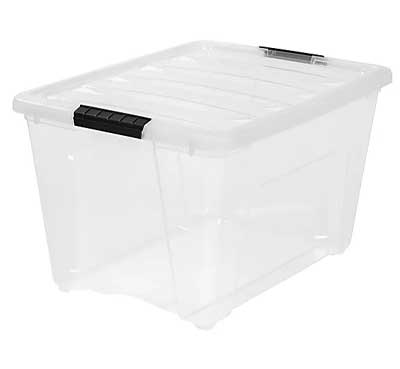
If space isn’t an issue for you, then you can opt for a large plastic bin. Plastic bins come in all shapes and sizes. And if you have ample space within your freezer, then you can opt for a large plastic bin.
When it comes to large plastic bins, you will need to fill them slowly and a bit at a time. If you want the ice to freeze quickly, you can fill the large plastic bins with warm water. This way, you can get better and clearer ice blocks.
6. Balloons
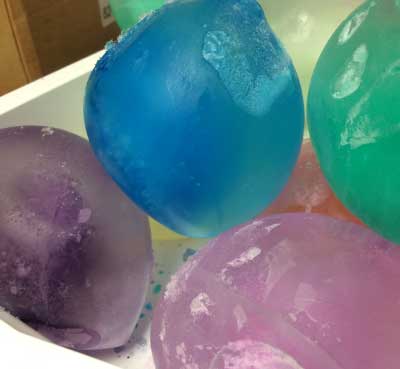
As crazy as this may sound, but balloons are the best way to making ice blocks at home. If you are looking to make ice blocks in bulk, then using balloons is your best bet. The bigger the balloon, the bigger and better the ice block will be. Fill your balloon with water and tie it off.
Then, place the balloons in the freezer for at least 24 hours to completely freeze over. You can either keep the block within the balloons or take them out for large circular ice blocks.
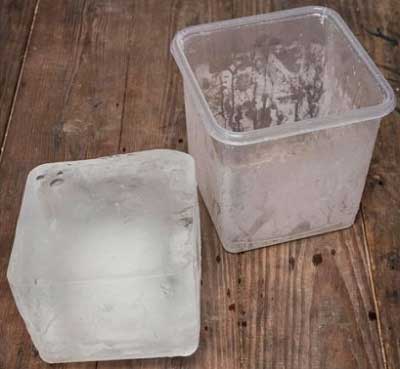
7. Ice Cream Tubs
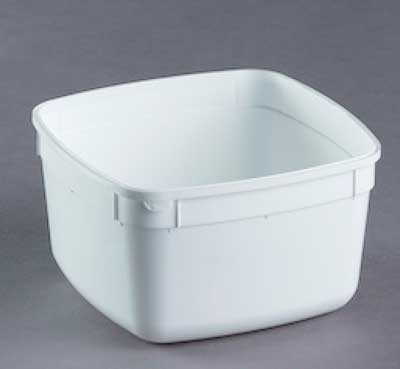
Up until now, we are accustomed to throwing away the ice cream once we are done with it. But know that ice cream tubs are one of the most ideal containers for making ice blocks at home. Ice cream tubs are the most ideal sized containers for making large blocks of ice.
You can get all small, medium, and large ice cream tubs depending upon the size of ice blocks you want to make. So, the next time you bring home an ice cream tub, make sure you don’t throw it away once you’re done.
8. Plastic Milk Jugs
Every morning you receive fresh milk at your doorstep. This milk usually comes in milk jugs. Just like an ice cream tub, we tend to throw these jugs away or use it to refill milk once it runs out. However, a plastic milk jug is also one of the best ways of making ice blocks at home.
Simply fill up the milk jug and store it in the freezer. You can simply use a small milk jug for smaller ice blocks or a larger one if you have enough space in your freezer.
The Bottom Line
Knowing how to make ice blocks at home is a great advantage. Ice blocks are a great source of preserving perishable food for longer. This is because ice blocks tend to last longer and melt slower. So, if you have enough space in your freezer, you can use some of the best containers to make block ice as mentioned above.
Great article!
Forty years ago, Coleman had a terrific stand-up style cooler, with a drain-able tub at the top, specifically designed for a block of ice (or other)…AND it was very easy to go to the now-ancient outdoor chests at quick-stop places to find block AND cubed ice. One block fit right into that upper Coleman bin in the cooler. We camped for 6 days straight on one block, draining as needed every few days. We actually went back home most times with much of the block ice still in tact. I’m still looking for that set up. Now days, there’s commercial bags, etc. that will melt a bit slower than cube, but don’t give the 6-day range as one block.
Perhaps you’ve already seen this, but the article needs a correction: Under “Baking Pan”…”A block of ice has a small surface area to volume ratio. This means the larger the block of ice, the faster it will take to melt.” “Faster” should read “slower”, if the comparison is to using smaller blocks or cube ice.
Thanks for the article!